Make a Risograph Poster in Your Browser
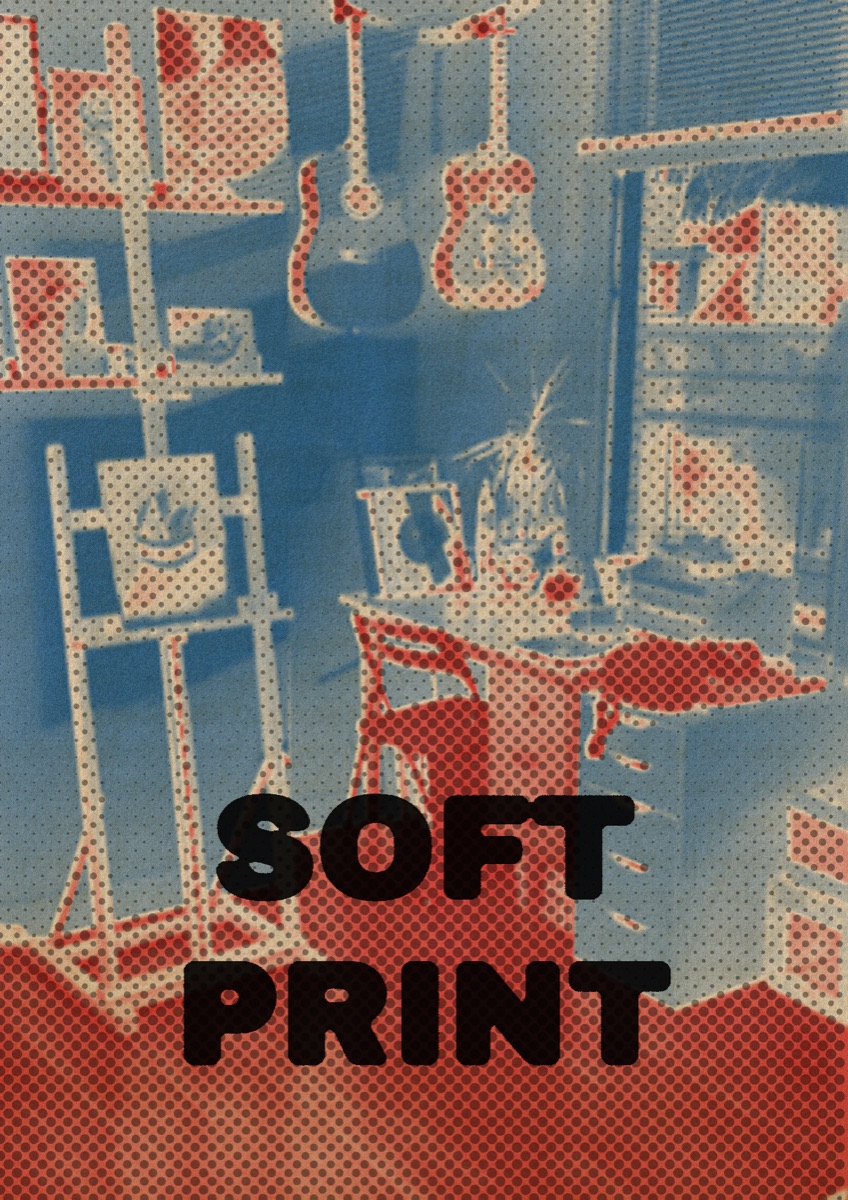
A photo, two inks, a bit of paper and one loud headline. This is how to build a riso style poster or zine page at A3, A4 or A5 in The Studio, from the first click to a file at print size.
1. Pick the paper size first
Decide the format before anything else, because every effect works on the canvas you choose. Open the Canvas panel in the sidebar and pick your size. Choosing a paper size also follows the orientation of your photo, and you can switch it with the Portrait and Landscape buttons.
| Format | At 150 dpi | At 300 dpi |
|---|---|---|
| A5, zine page | 874 × 1240 | 1748 × 2480 |
| A4, poster or flyer | 1240 × 1754 | 2480 × 3508 |
| A3, poster | 1754 × 2480 | 3508 × 4961 |
Use 150 dpi while you play and 300 dpi for the file you print. Prefer a social format? The same panel has Instagram post and portrait, Story and Reel, Pinterest, X, LinkedIn and YouTube sizes.
2. Place the photo
Click Photo, the row at the bottom of the layer list. Now you can drag the photo on the canvas, scroll to scale it, rotate it or flip it. Fill canvas crops the photo to the paper, Fit inside keeps all of it and leaves room around it for type. Any masks you made follow the photo when you move it.
3. Give it the riso look
Risograph as the base layer, two inks, for example a fluorescent pink with a federal blue. Then add Halftone on top at around 45%, blend mode Multiply, small dots (4 px).
The halftone multiplies over the riso base like a second pass through the machine. If it looks muddy, lower the opacity before you change anything else. The blend mode guide explains why.
4. Add real paper
Use + Colour to add a colour layer. Pick a paper tone, then choose a texture: film grain, paper grain, or one of the 25 scanned papers. Drag the layer to the top of the stack and set its blend mode to Multiply. Now white areas of your print turn into the paper colour and the ink sits on the fibres, the way it does on a real sheet.
- Use my colour (relief only) takes only the grain and folds of the scan and puts them on your colour. Good when you want a specific paper tone.
- Paper's own colour uses the scan as it is, so a kraft scan stays kraft.
- Flatten shading removes large shadows and creases and keeps only the fine grain.
5. Type the headline
Click + Text and just start typing, the cursor is on the canvas. Double-click the text any time to edit it in place. Pick a display font in the bar under the canvas, switch on all caps with AA, and open Size to add a little Ink bleed, so the letters swell like ink in paper. Set the blend mode to Multiply so the type prints into the paper instead of sitting on it.
Try one oversized word that bleeds off the edge, then a small line of text in a typewriter font. Two sizes of type are enough for a poster.
6. Add more, keep it tidy
- + Image adds extra photos or scans as their own layers. Move them on the canvas, scale, rotate, and give each one its own effect if you like.
- Folders group layers. Drag layers into a folder, collapse it, or double-click a name to rename it.
- Masks show only what you draw: paint, box, circle or pen, with a red overlay while you work and a Preview button to check the result.
7. Export for print
With Pro (€9, one time) use Export full resolution. You get a PNG at the exact pixel size of your format, for example 2480 × 3508 for A4 at 300 dpi. Export layers as PNGs gives you one file per layer, handy if you want to finish in Photoshop. Without Pro you can play with two layers and the preview carries a watermark.
Good to know
- The long side is capped at 8192 pixels. A2 at 300 dpi fits. A1 and A0 are scaled down to fit, so they come out at roughly 250 and 175 dpi.
- The PNG holds the pixel size, not a dpi tag. Place it at the paper size in your layout app or in the print dialog.
- There is no bleed or crop marks. If your printer needs bleed, make the canvas a few millimetres larger than the finished size and trim after printing.
- For a zine, make each page its own A5 file with the same paper layer and put them in order in your layout app.
- Very large exports are heavy for a phone. If the export fails, lower the dpi.